Get Started
- Download and install VCV Rack
- Subscribe to the Lilac Loop plugin in the VCV Library
- Optionally, download example patches for live looping
Operation Guide
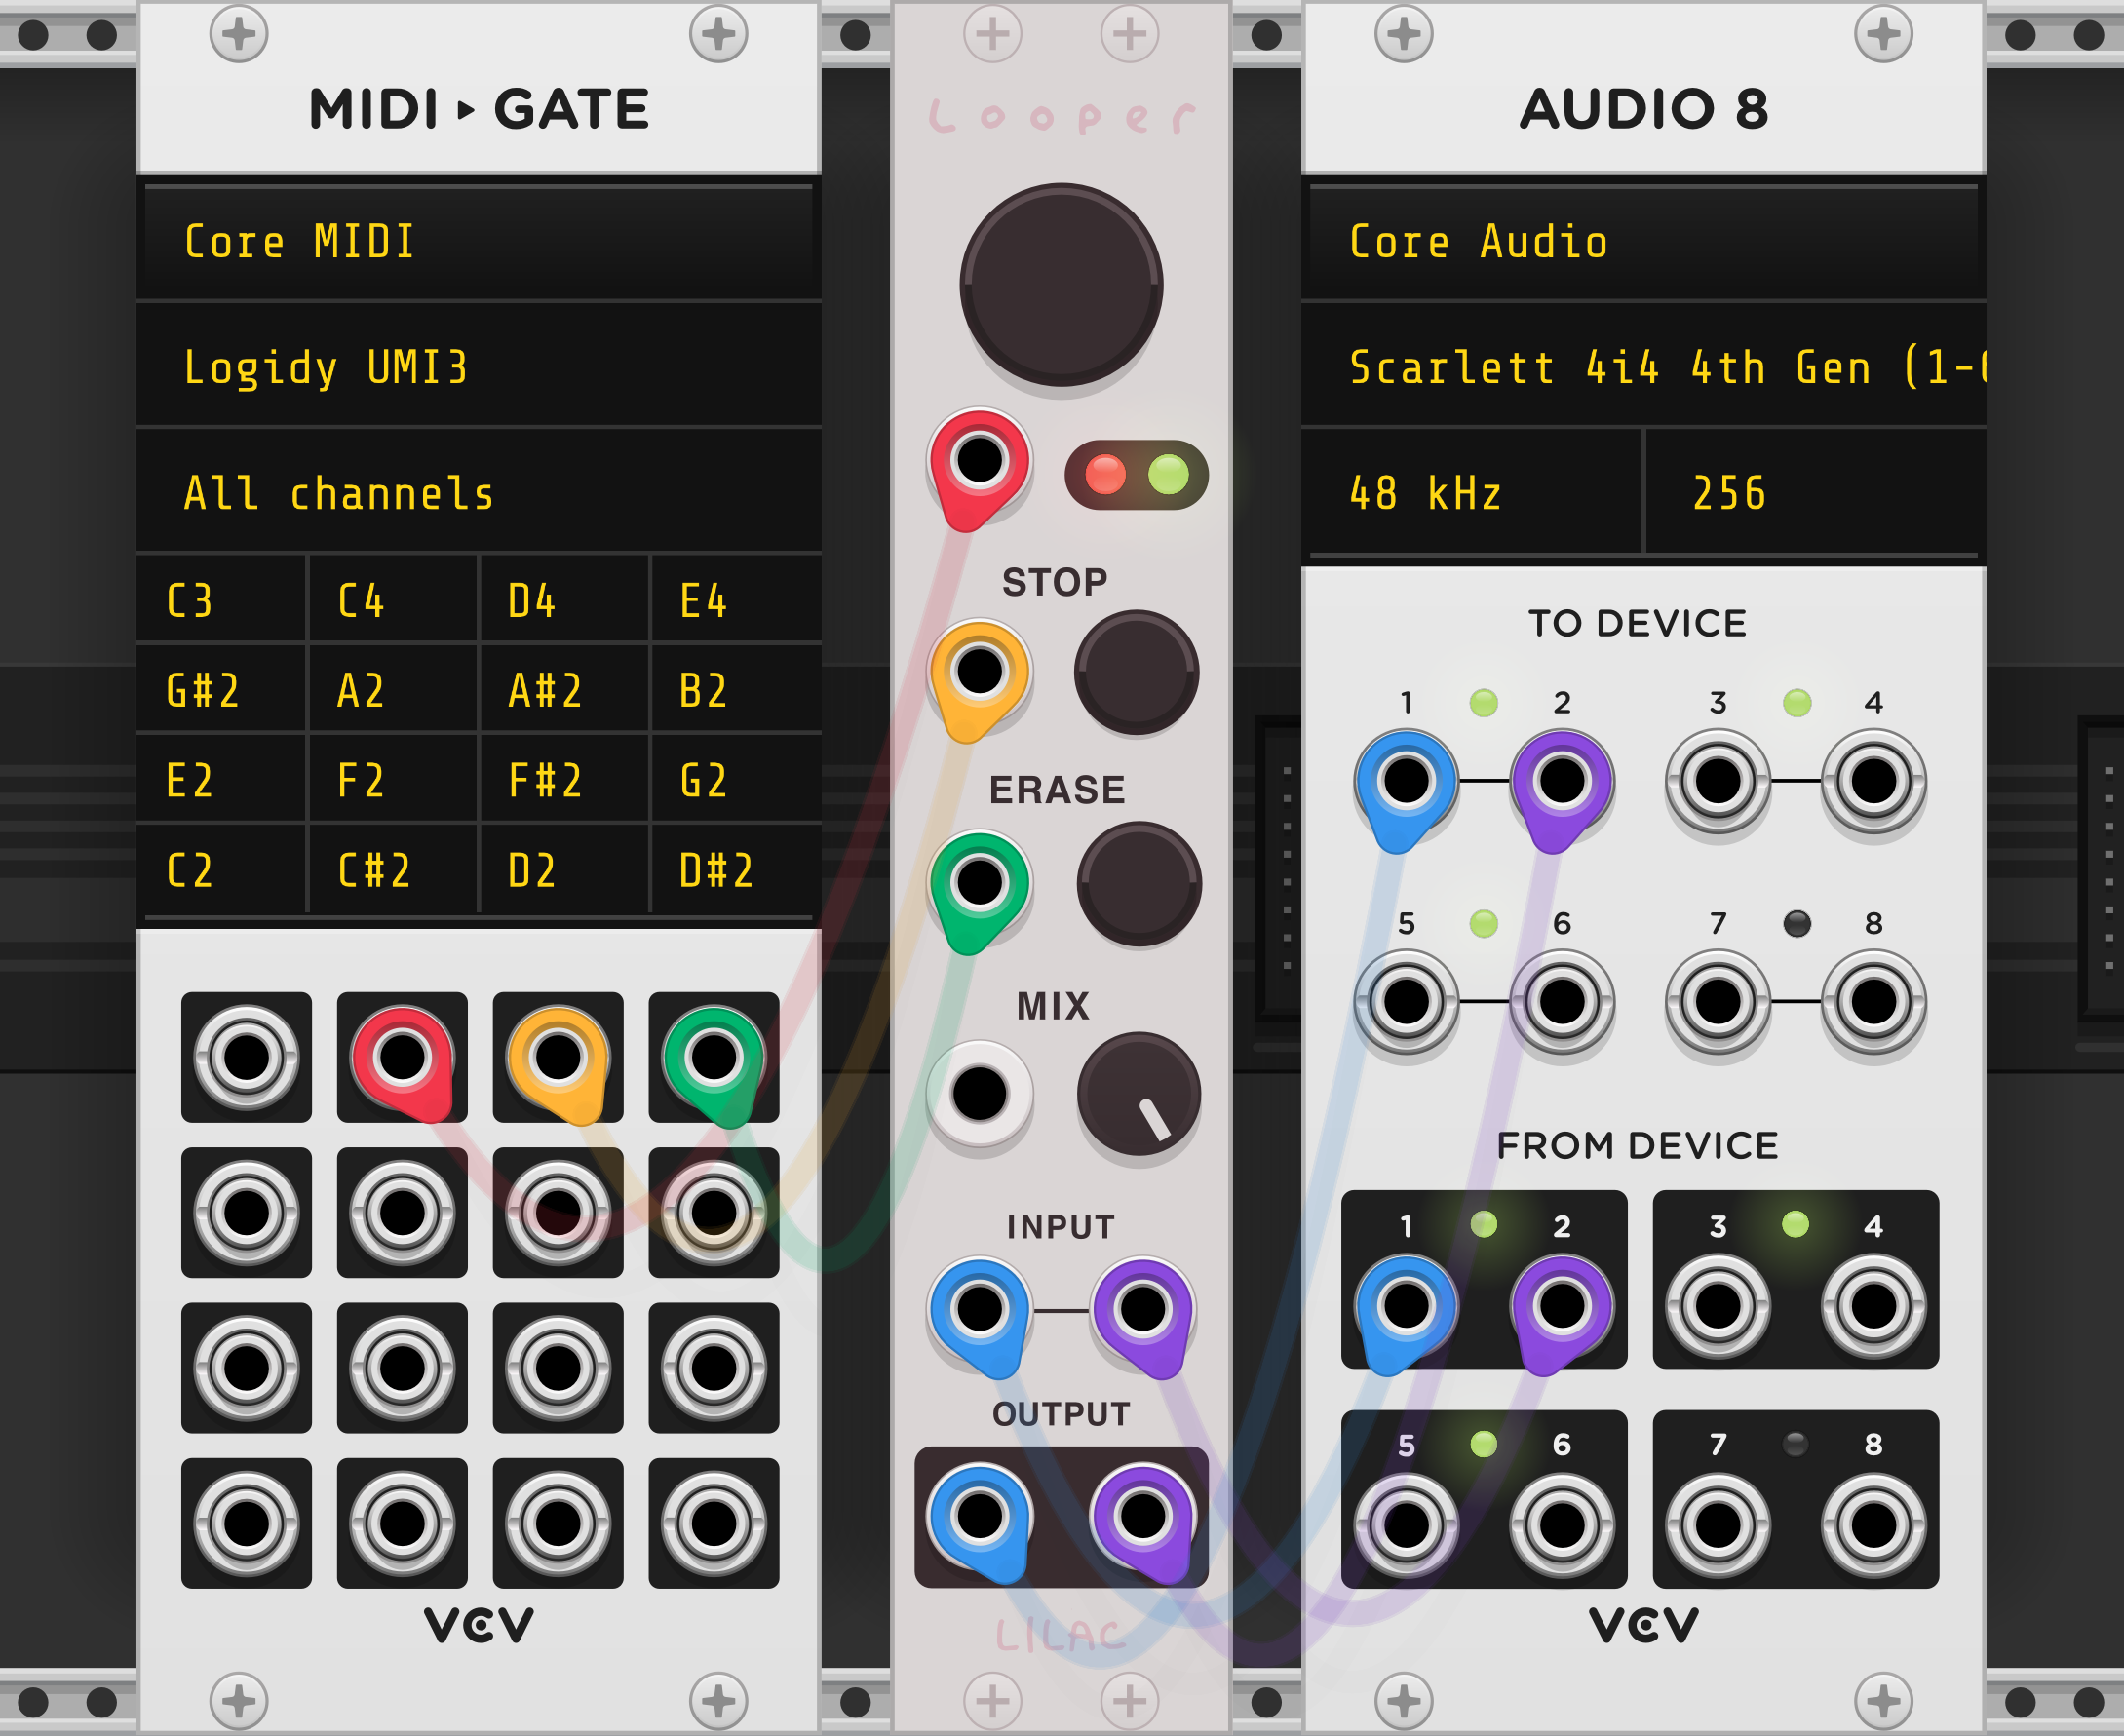
Start by patching a signal to one or both of the Looper's input ports. This could be a live instrument input from your audio interface or other source such as a VCO. Make sure at least one of the Looper's output ports is connected to an audio output.
Record a Loop
- To record a loop, press the LOOP button once. The red record light will turn on and recording begins immediately.
- To stop recording the loop, press the LOOP button again once. The red record light will turn off. The green play light will turn on and the loop will begin playing immediately.
- The loop will play indefinitely. Each time the loop repeats, the green play light will turn off briefly.
Stop and Start Playback
- To immediately stop loop playback, press the STOP button once. The loop is automatically reset to the beginning.
- While stopped, press the LOOP button once to start playback.
Record an Overdub
- To record an overdub, make sure a loop is playing. If a loop is not playing, press the LOOP button once to begin playback. The green play light will turn on and the loop will begin playing immediately.
- To start recording an overdub, press the LOOP button once. The red record light will turn on—together with the green play light—and audio will be recorded on top of the original loop.
- To stop overdubbing the loop, press the LOOP button again once. The red record light will turn off and the loop will continue playing along with the overdubbed audio.
Adjust the Playback Level
Use the MIX control to balance the volume of live input and loop playback.
- To hear 100% input and 0% loop, turn the knob all the way to the left.
- To hear 0% input and 100% loop, turn the knob all the way to the right.
- To hear 100% input and 100% loop, turn the knob to the middle.
The CV input for the mix control expects a range of ±5V and will ignore the knob position when connected.
Erase the Loop
To erase the loop, press the ERASE button once. The loop memory will be cleared irreversibly, enabling the recording of a new loop.
Change the Switching Order
To change the switching order, choose one of two options from the module context menu.
Enable Autosave
To ensure your looped recording can be played the next time you open your patch, find the Save loop audio with patch section in the context menu and select On.
This will save the loop memory whenever you save your patch, making it available the next time you open your patch in VCV Rack.
Export an Audio File
To export the loop memory to an audio file on your system, select Export audio file… from the module context menu.
The file type and bit depth of the exported file can be selected under File settings. By default, a polyphonic loop will be mixed down to a mono or stereo audio file. To preserve polyphony as a multi-track file, select File settings > Polyphony > Multi-track.
Change the Default Settings
Once you are happy with the settings, Select Preset > Save template in the context menu. The current settings will be used for any new Looper module added to your patch.
Add a feedback expander module
The Feedback Expander module allows you to interrupt and process Looper's audio feedback path. Select Add feedback expander from Looper's context menu to add the expander module to your patch. The right side of the Looper module and the left side of the Feedback Expander must be touching in order to work.
Help
If you are having a problem with the plugin, or if you would like to report feedback of any kind, send an email to lilacloop@grough.com. If you have a GitHub account, you may submit an issue.